
To this!


As you can see, the passenger door fits pretty well at the strike side. I decided to tweak it a bit, however to get the gaps even tighter.


The driver side did not. There were large gaps. I've already ground down the edge of the door to accept a fiberglass extensions.
This is what they look like now.
 |
| Passenger |
 |
| Driver |
Next I set the nose in place to check the front gaps. They are a little harder to gauge as there is some warping to the fiberglass which keeps the nose assembly from staying put on both sides. However, they appear to have too much gap. I will adjust the final gap later once the tilt mechanism is complete.
The first step of the actual face-lift procedure is to permanently attach the original "hood". I secured the hood from the bottom side with temporary screws. I'll remove them and add a bridge of new fiberglass over the transition later.

Then I ground down a lip on the top surface of both the hood and the body and fiberglassed the hood into place. Bondo and primer complete the transition. I've cut a new opening in the "scoop" so that it is actually functional. I'll mount a screen behind it later.

I cut new baffles out of cardboard for each side to fit in the front of the nose beside the headlight buckets. This is the most critical upgrade as it is where the hinges will be mounted and the weight of the entire nose supported when it is done.
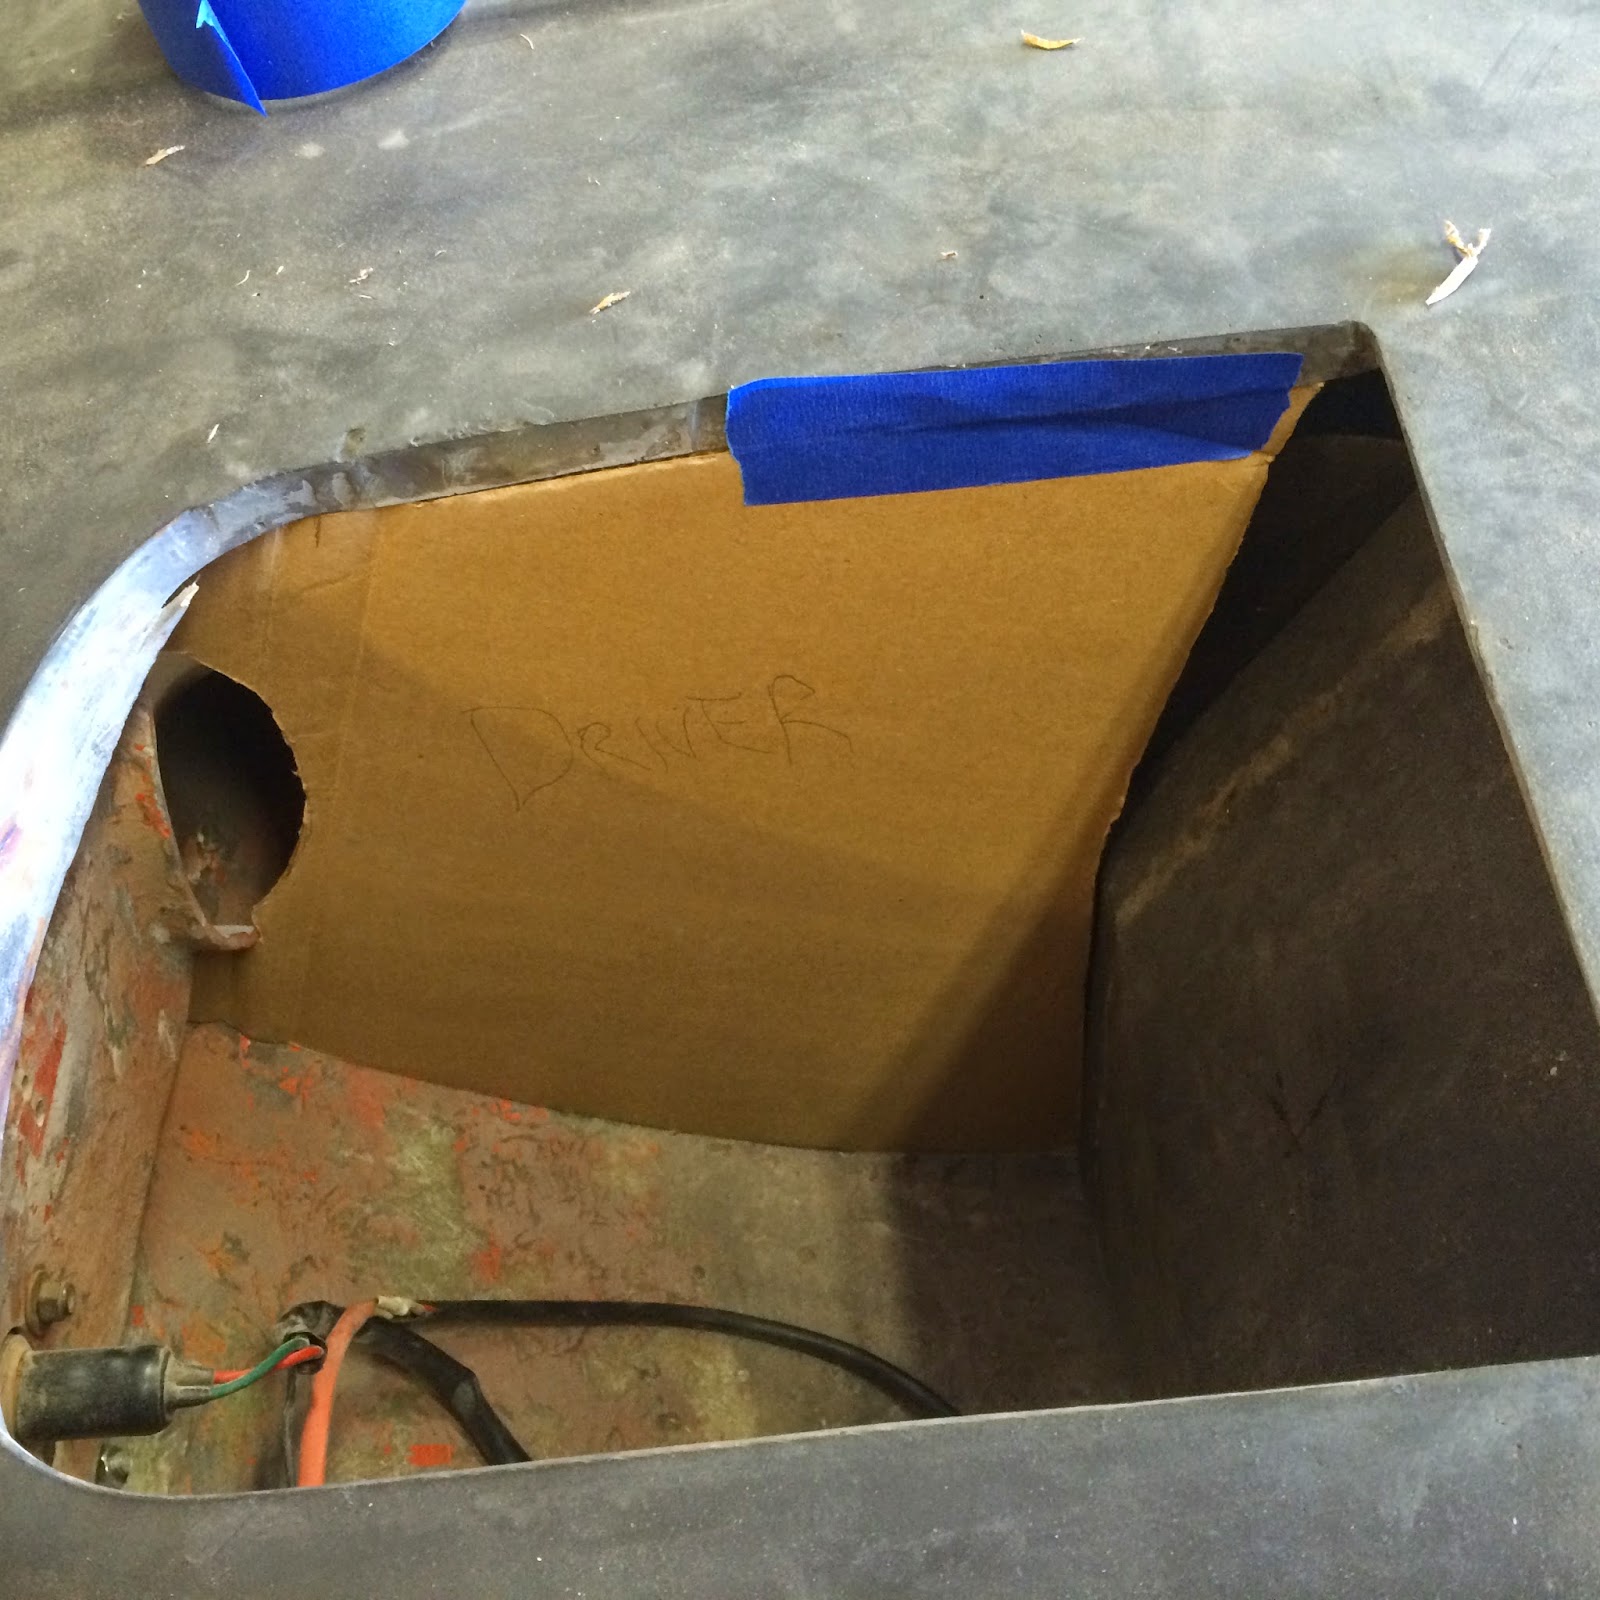

(Note that I notched around the auxiliary light sockets - I've got a new set of aftermarket fog lights that will be going in there later.
The patterns were then transferred to 1/4" foam core, and coated with two layers of fiberglass matt, which provides a temporary non-structural framework for the fiberglass. I had to brace the tall side of the assemblies until the fiberglass dried.

No comments:
Post a Comment
Got a Comment?