As soon as it was though, I had another fit of uncertainty about how to procede. The next step of the tilt-nose conversion process is to mount the headlight rotation assembly to the metal chasis. This is what the directions show for the bracket dimensions:

Note that the dimensions are in decimal inches to the thousandth of an inch. Precision is important at this step, because the hood must rotate closed over top of the installed headlight buckets while lining up exactly flush with the bucket surface and leaving only an 1/8" or so gap around each bucket. Likewise, once the hood is closed and latched, the headlight buckets themselves need to rotate up out of their "home" in the cowling to their upright and operable position within the same 1/8" gap.
However, every step of the proces to date has taught me that there is NOTHING uniform or reliable about the factory finished dimensions of these vehicles. Not to mention the fact, that I'm going slightly rogue at this point in attempting to make this transition while still maintaining an all weather daily driver vehicle and therefore attempting to maintain the front wheel well baffles. I'm an architect too, which means I think I can improve on the aesthetic quality of the design and make it look more "stock".
Sooo, how to procede when you don't know what it is you're really doing and you need to design brackets that correctly align in three directions (and rotationally)for proper clearance of two different hinged assemblies? Two phrases: guesswork and trial and error (lots of the latter)!
But first, and most important, you put off the decision by working on something else while you build up your courage. . .
So I began work on some of the interior finishes.
I rebuilt the hardboard door panels and mounted the front speakers.

I decided I wanted to add arm rests to the doors, so I carved some. I had to make revisions to the door frame itself to mount them (more on that next time).

Then I did similar hardboard work for the trunk rear and side panels and cut a new trunk floor.

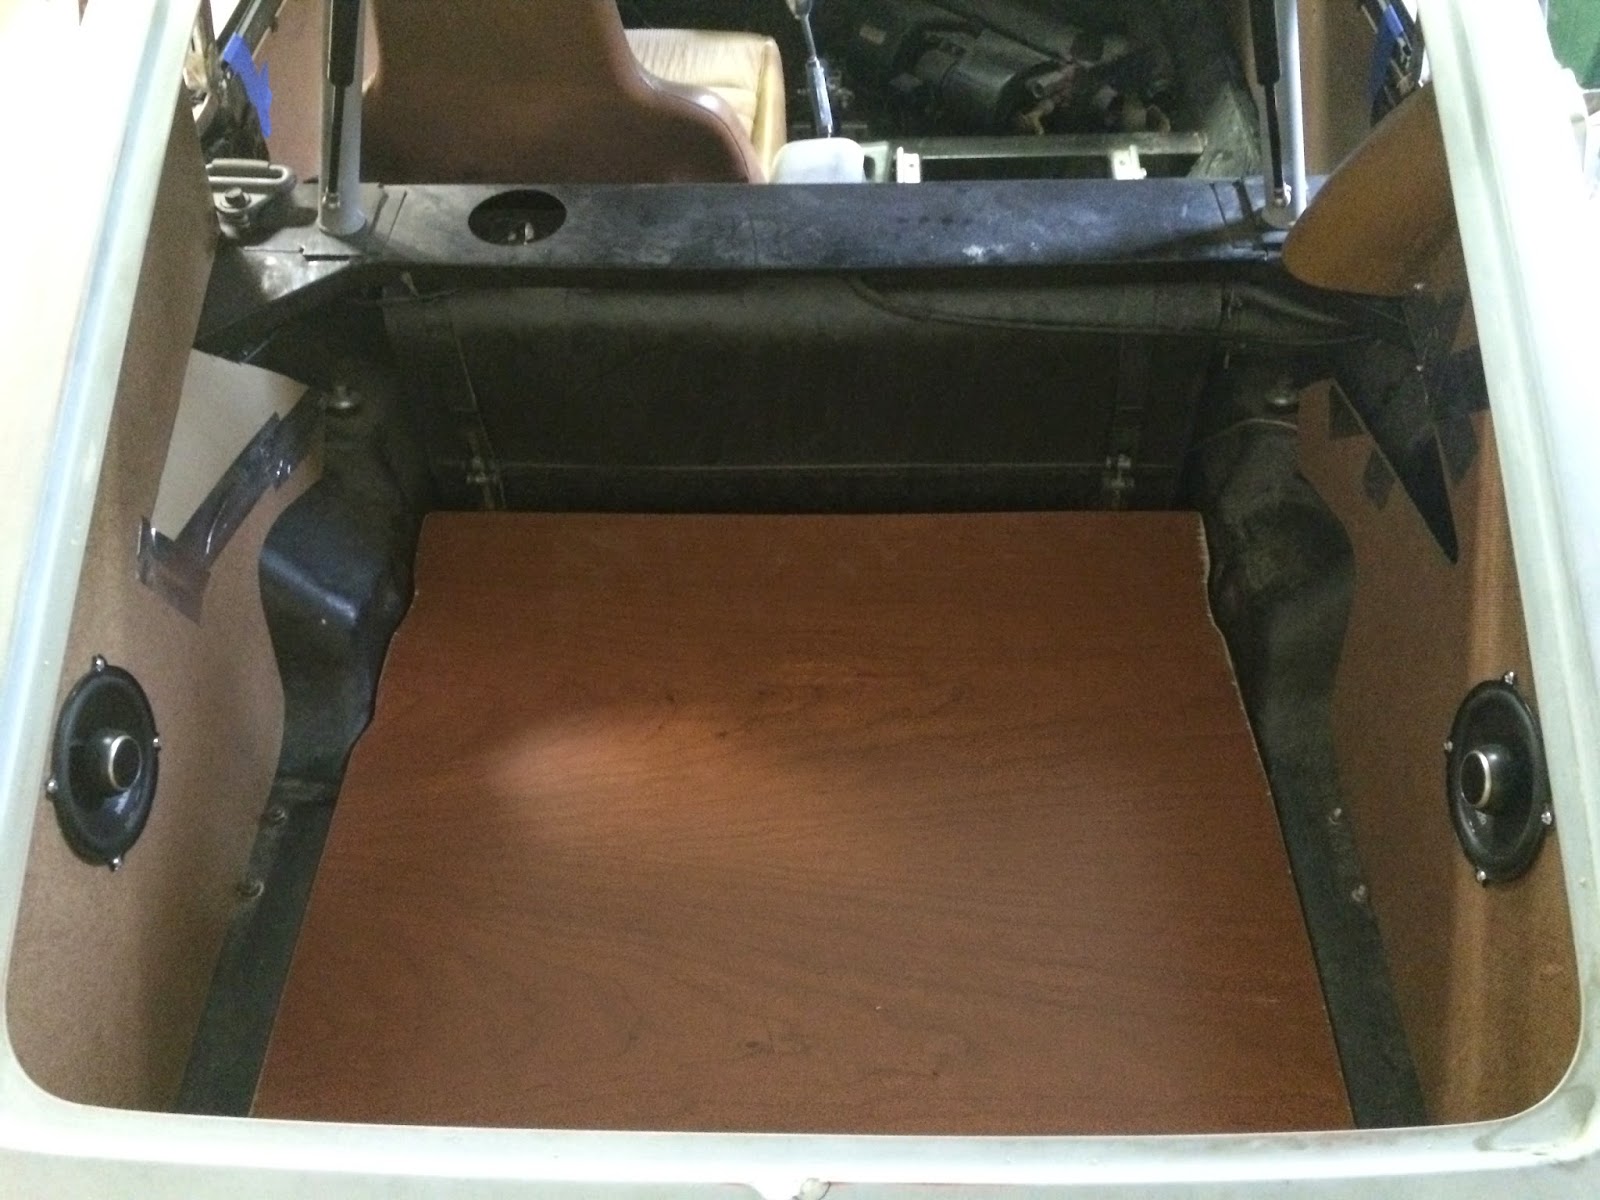
It took me four tries to figure out how to resolve the complex geometry just behind the gas tank. The original hardboard was so waterlogged, warped and bent, it was impossible to tell, but I think it was originally press formed or bent somehow into arch shapes. I eventually, just cut a wedge shaped notch and used a thinner, more pliable card stock to warp between the surfaces.
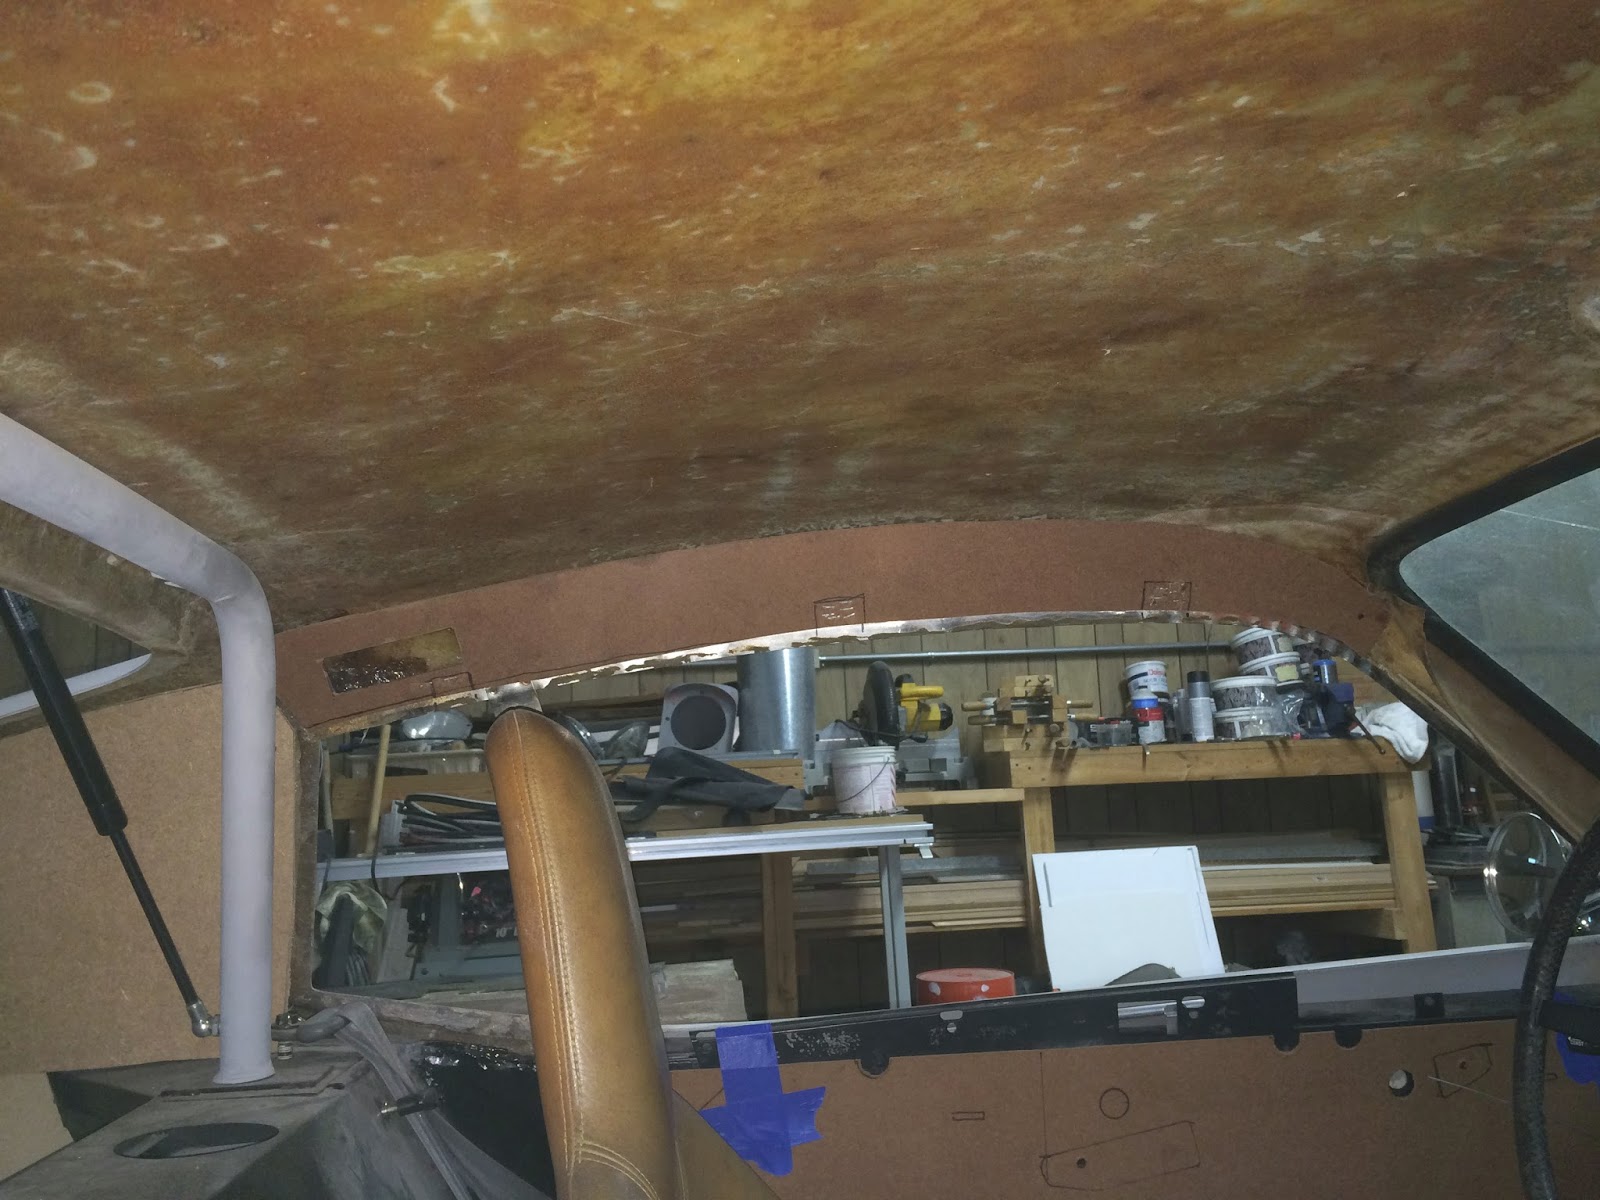
I also installed new hardboard over the doors. These were also tricky because it involved gluing small hardwood spacer blocks at critical locations to recieve mounting screws through the exterior stainless steel trim.
I still wasn't feeling confindent in tackling the headlights, so I installed a set of used seatbelts from a Honda Civic donor:

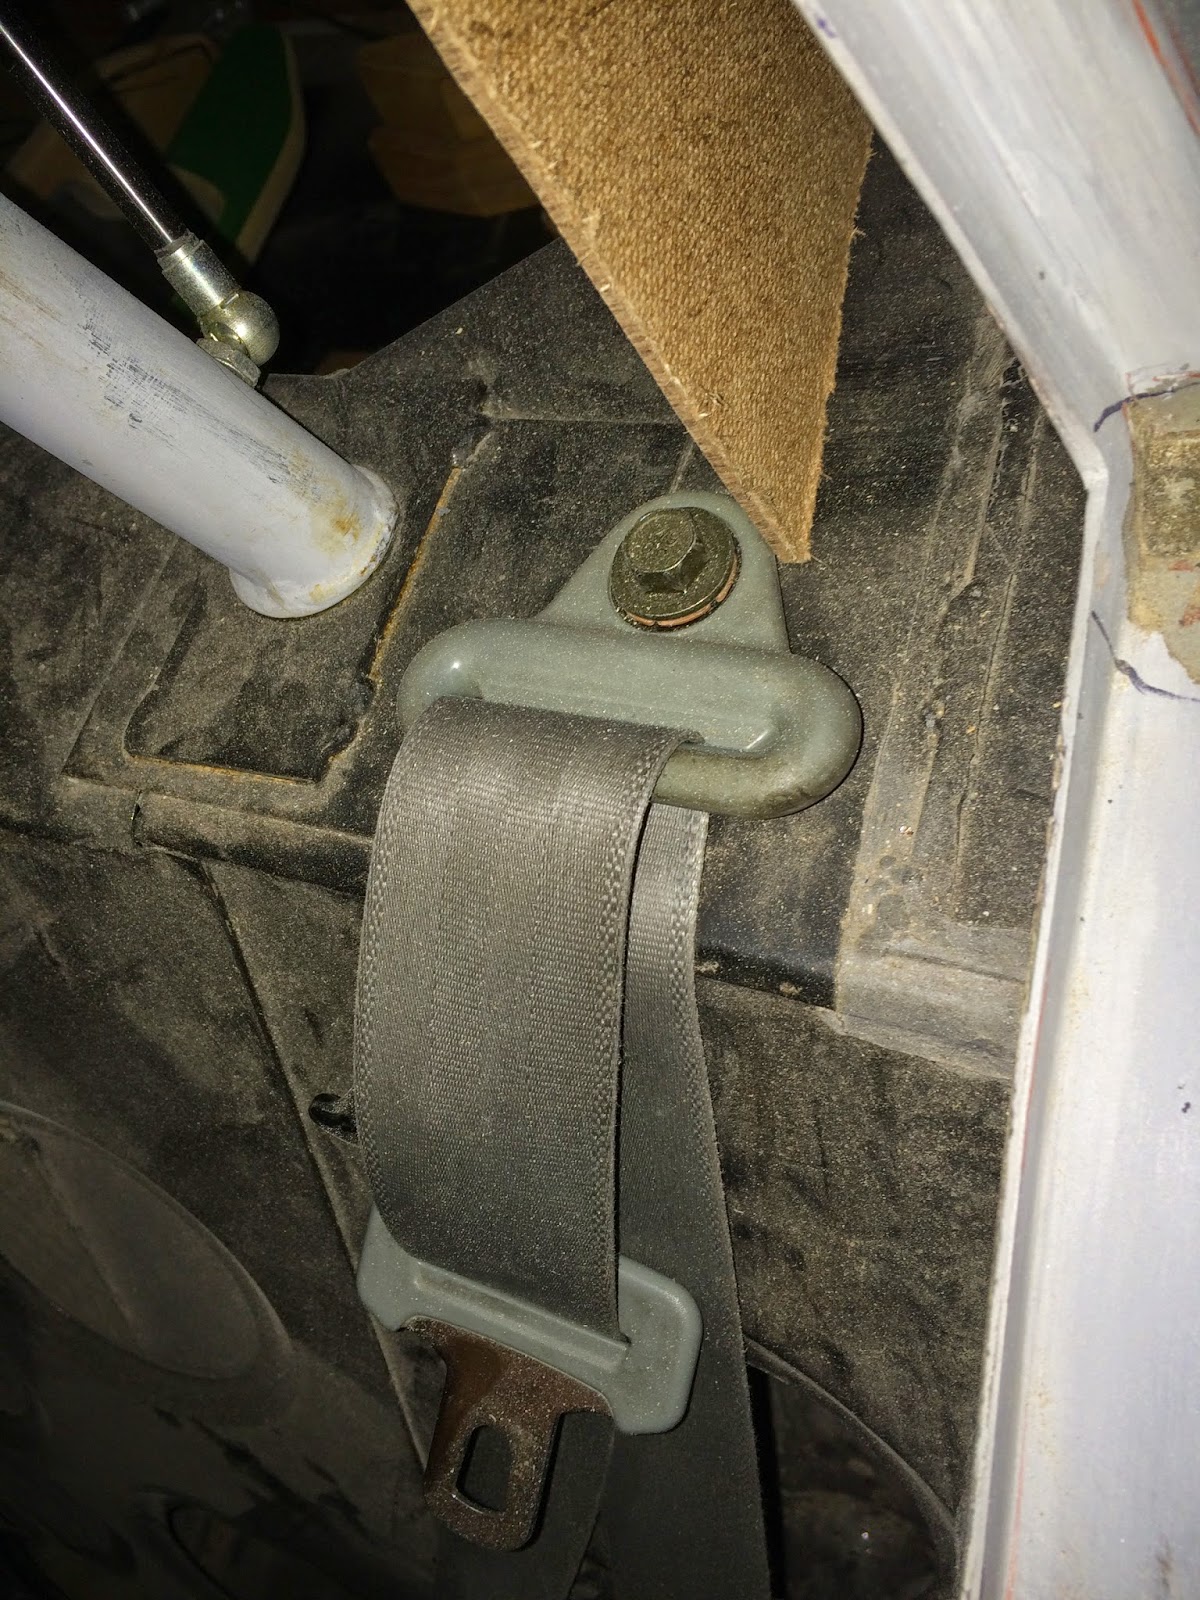
The fixed, and shoulder connections bolted right in to the original points. The retraction assemblies took a little more finaegeling. However, they tucked in fairly nicely into existing bulkead holes when expanded a little at the top, and with a custom clip angle bolted to the bottom that matches up with one of the rear suspension bracket bolts that is conveniently in this location.
By this time, I was starting to feel more confident again, but I knew proper alignment of the hood would be a big piece of the puzzle, and the more consistency throughout the process I could muster, the better. Therefore, I finished the final installation of the hood latches to literally lock the hood in position for better measuring/guesswork.
First I cut two curved wedges of hardwood and embedded them in two layers of fiberglass matt in the corners of the hood just in front of the windshield. Then I marked and installed the two latch clasps with short pan head screws.


Since I have two latches, and two cables, but only one release pull, I had to connect both cables, with only just enough slack to operate the latches (about 5/8" total travel) inside the drivers side door pillar through these two 3 1/2" holes.

A full day of frustration and cursing followed. . .
But eventually, by blind feel, I was able to get it all assembled and working. This is what it looks like from below:

The two cables are at the top left. I fabricated a new bracket to hold the ends of the cables in a fixed position while aligning both with the pull rod (fabricated in the last blog - center). I brazed a nut to the end of the pull rod and attached two connection anchors to it using a small bolt. The ends of the cables were then carefully cut to the proper length and attached to the pull rod anchors using electrical crimp connections. (The vertical wire at center is the power for the door switch for the interior lights.)
The amazing thing is: It works!
But what about those pesky headlight brackets!
Well, they're not quite completed yet, but they have been fabricated, fitted, tested, and partially removed again for refinement, and:
- the tilt rod is attached again to the vehicle
- the spring-loaded headlight rotation arm does operate correctly
- the hood does clear the headlight buckets and does latch securely
- I was able to retain the front wheel well baffles
- with a little grinding, filing, sanding, and paint I think they'll even look attractive!
I'll show the finished product next blog, but here's a sneak peak:


Woo Hoo! It's coming along slowly but surely!
ReplyDeleteT