
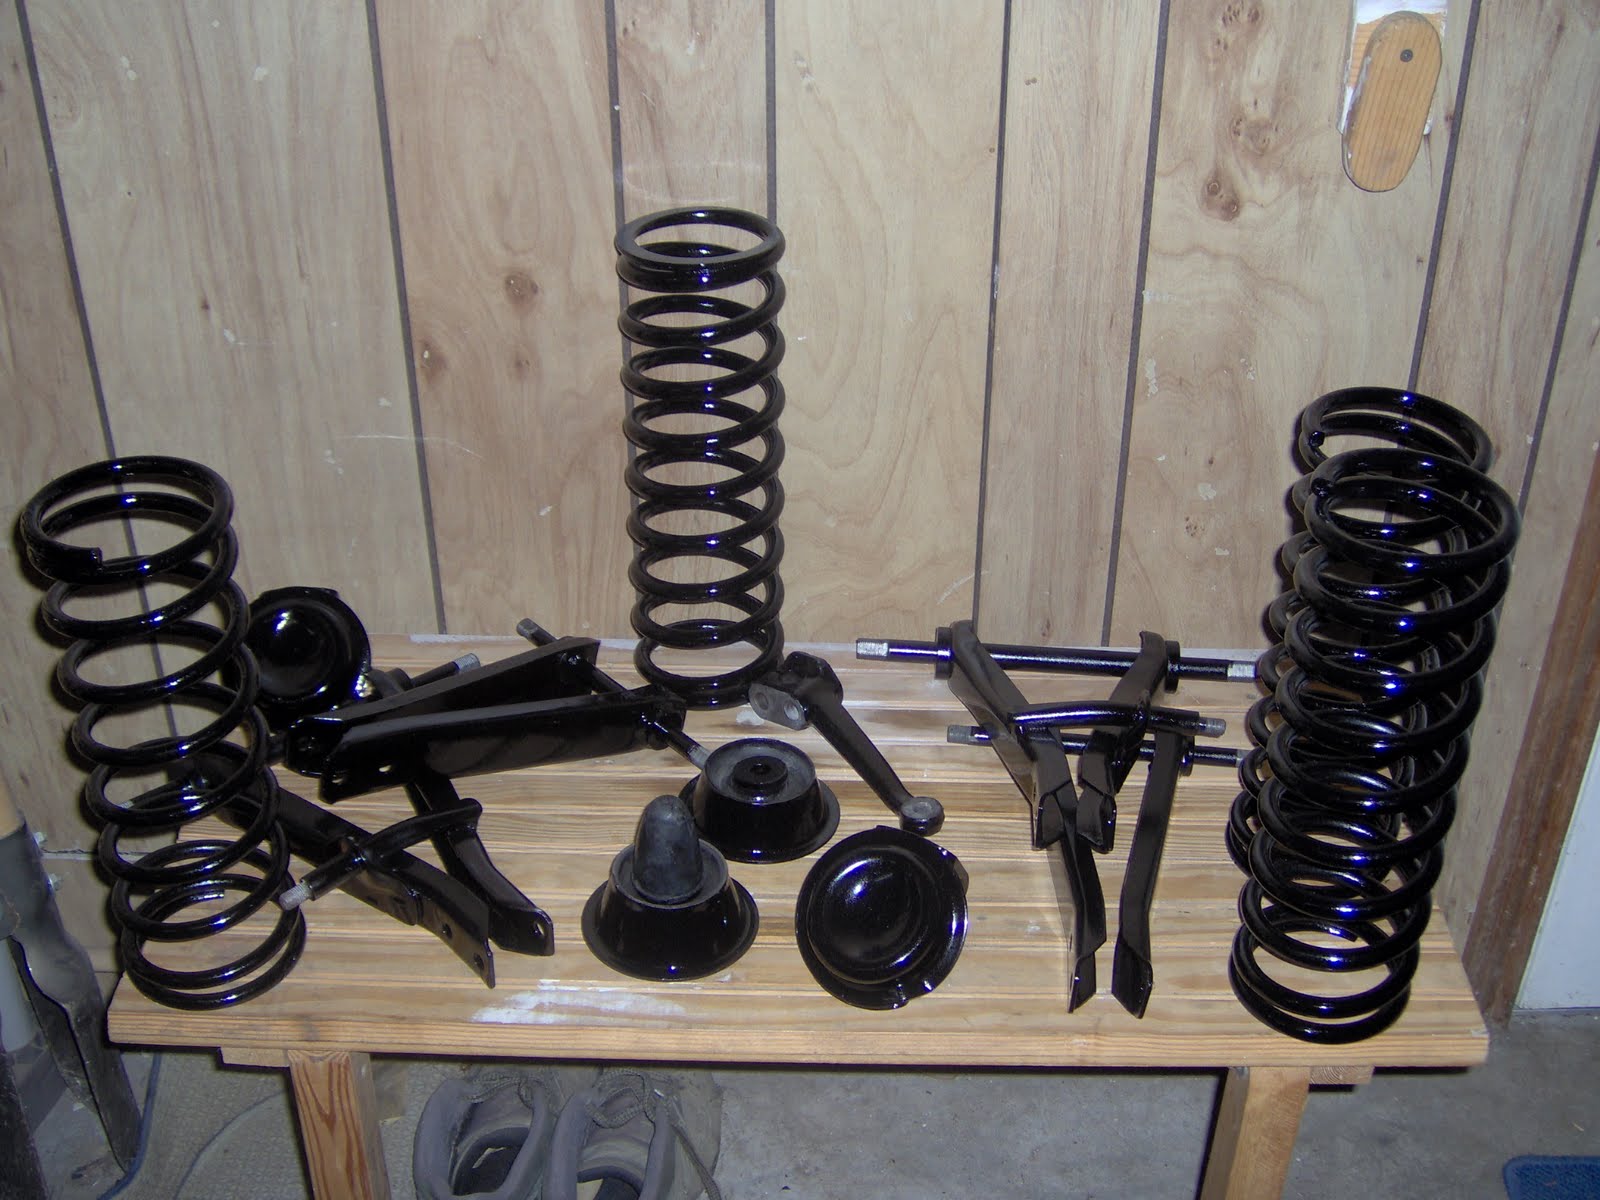
All the joints sealed up tightly, a nice, consistent color and texture, and ready (almost) for some reassembly.
Part of the hold-up, once again, was waiting on optimal paint conditions. I finally got wise, and installed a window AC unit in the garage, so the humidity issues are a thing of the past, and it is a LOT more comfortable in there now! The special primer went on all the last few loose parts, and then (after a light sanding) a coat of enamel.
While I waited for parts to dry, I got the wheel hubs and rear brake drum assemblies back together.


So far, no major trauma, though the retainer clips for the front brake pistons had me scratching my head for an afternoon. I also broke off a bolt in one of the rear hub assemblies and had to extract/replace it.
Now the critical path is to complete the seam sealer work on the topside of the car so the topcoat of paint can go on in the engine bay and trunk. The interior of the car will all be covered up with carpet, so no need to topcoat in there. As you can see below, I've already gotten the seams sealed at both sides of the firewall, and am working my way back to the trunk. The grills are masked off in the engine bay to keep the undercoat on the exterior only.


I am doing a little experiment with the rocker panels. Because these historically trap moisture, which leads to corrosion, I have drilled a 1/2" hole at each end of the interior side of the rockers - inside the front door pillars, and behind the rear seat baffle. I'm hoping that if the rockers can "breathe" a little, it will slow the corrosion process when the inevitable moisture gets in there.

No comments:
Post a Comment
Got a Comment?