
Oddly enough, the rear suspension, which is much less complicated, took more work. It wasn't exactly easy to fit the four washers, and align the main bushing bolt all whilst lifting the entire rear axle and drum brake assembly above my head. Then the main bolt kept wanting to strip itself - until it finally occurred to me that I had cleaned the parts so well they were bone dry, without any lubrication. That big old bolt and nut had enough surface area that the resulting friction was essentially acting to heat weld themselves together. A little WD-40 and a new universal joint for the socket wrench for better access made a world of difference.
Then I had to figure out those pesky stop straps - how long are they really supposed to be, and how to adjust them? The originals were both torn, but by fitting the pieces together and backing off the distance specified in my repair manual I had a reasonable guess at the optimum mounting length. Because I could not find replacement straps for a Saab, I purchased a set designed for a Volvo of the same vintage. These were slightly shorter and wider than stock, but worked out to have just the length required. I think the originals deteriorated so badly in part because they were installed too tightly. Anyway, the result looks pretty secure.

With the new shocks in place, it was time to move on to something new. While I was focused on the wheels, I figured I'd complete the braking system. The biggest challenge here was cutting, bending and flaring all the hard lines. After struggling through half of the lines, my flaring tool broke. The replacement was much better, and the remaining lines were a breeze (when I remembered to put the fittings on and in the right orientation).
Of course you can't have brakes without a pedal to push!

One of the first projects completed after the disassembly (last spring) was to rebuild the clutch and brake master cylinders, so both were bolted back to the firewall. With my daughter pumping the pedal, the bleeding process was completed, and the few leaks found eventually sealed successfully. The car may not go yet, but it can stop!

In the photo above, you can see the master cylinders at bottom right, the steering gears above, and some of the brake lines.
The emergency brakes went in without a hitch.


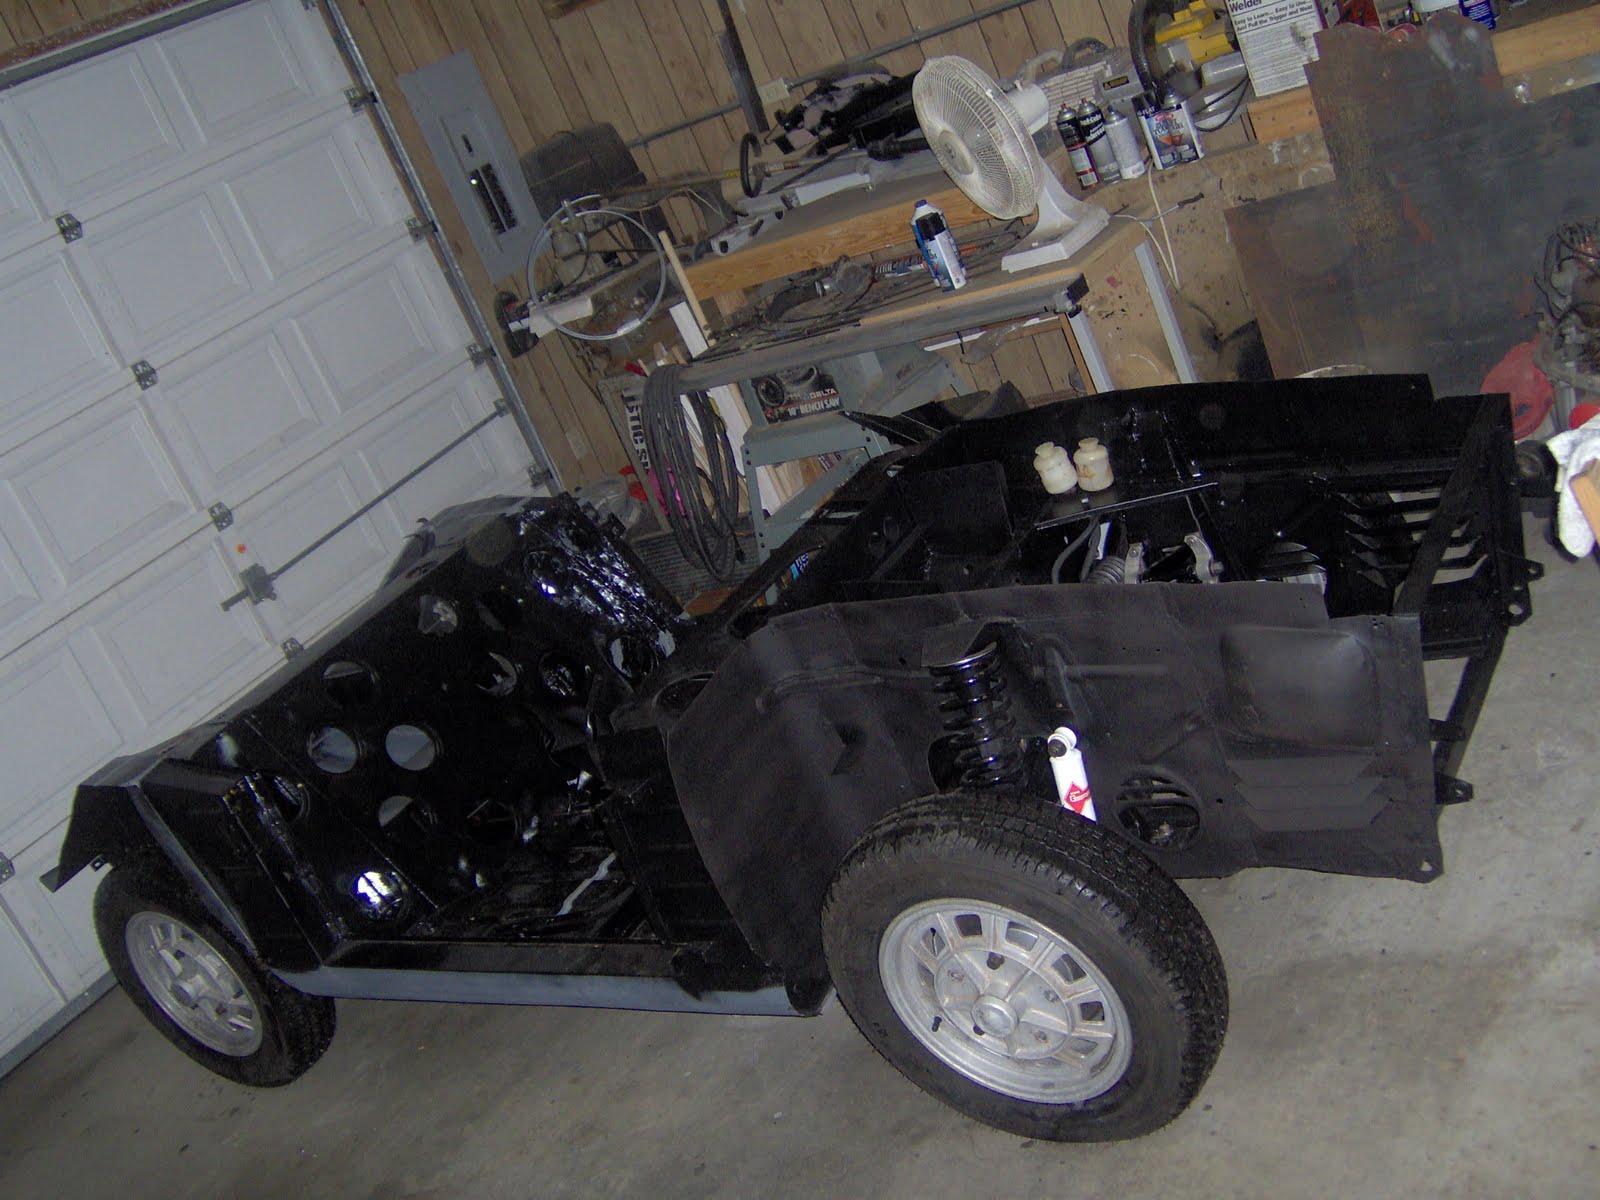
After several months upside down and up on blocks, it was actually a shock to see the car riding low and beginning to resemble a car again. (And for my wife to be able to park in the garage again!)
No comments:
Post a Comment
Got a Comment?